Good to know
Here is some useful information about flames and wicks, etc. to help you enjoy your Waxburner for a long time.
Tips & tricks
Useful information about your Waxburner.
Instructions
You can find the instructions for all Waxburner models here.
Personal contact
Just give us a call.
We’ll be happy to help.
Tips & tricks
Useful information about your Waxburner.
De-soot the wick
By loading the video, you accept YouTube's privacy policy.
Learn more
Adjusting the wick
By loading the video, you accept YouTube's privacy policy.
Learn more
Indoor – changing the wick
By loading the video, you accept YouTube's privacy policy.
Learn more
Outdoor – changing the wick

By loading the video, you accept YouTube's privacy policy.
Learn more
Frequently Asked Questions
How do I top up my Waxburner?
All Waxburners are easy to top up with (leftover) candles, as well as wax pastilles. We recommend paraffin wax for an attractive, low-soot flame.

By loading the video, you accept YouTube's privacy policy.
Learn more
Guide to candles
Instruction (PDF)
Soot needs to be removed from the wick.
If the Waxburner is difficult to light, you need to de-soot the wick. It is best to do this when the Waxburner is cold. The soot that has become stuck to the wick can be scraped off using a pointed object (screwdriver, blunt knife or similar). You can safely do this with some force without damaging the wick. This will unclog the glass fibres that have become stuck together by soot. You should remove the soot particles that have become detached. The fibres of the wick should sit freely again after this treatment and be stringy. After cleaning, reactivate the wick with a little liquid wax (approx. 1 tbsp.).
The wick or flame needs to be adjusted.
The Waxburner can only work perfectly if the wick is correctly adjusted. The wick regulates the size of the flame and the melting effect. After lengthy use and after soot has been removed, or if a new wick is inserted or external circumstances make it necessary, you might need to readjust the wick. The wick can only be adjusted when it is warm. Using a pair of tweezers, slightly pull up the fibres in the centre of the wick (to form a peak). The fibres on the outside of the wick must simultaneously remain approx. 2 cm (outdoor) / 1 cm (indoor) below the edge of the burner. This means that the flame in the centre of the burner is guided upwards and burns optimally. If the peak of fibres in the centre is too high, the flame will become too big. If this happens, just push the fibres down slightly. If the entire wick is too far up in the burner, the melting cycle will not be able to start. You should then push the wick down slightly. If the wick is too low in the burner, the flame will be small and very unsteady, with a tendency to soot formation. You will then need to pull the entire wick up slightly.
By loading the video, you accept YouTube's privacy policy.
Learn more
There is not enough wax in the wick and/or in the bowl.
Pour liquid wax (outdoor: approx. 4 tea lights’ full / indoor: 2 tea lights’ full) onto the wick. If necessary, you should also top up the bowl with wax.
There is too much liquid wax in the bowl.
The liquid wax drowns the flame. Please ensure that the liquid wax only reaches up to approximately 1 cm below the wick. To remove the wax, place the Waxburner in an oven at a maximum temperature of 100°C until the wax becomes liquid, and then scoop it out.
You are using low-quality wax.
Low-quality wax produces little energy when it burns and produces more soot. Colour pigments in candles interfere with burning and also cause a lot of soot to be produced. You should therefore mix white and coloured candles at a ratio of 50:50. We can supply original wax for mixing in or for topping up your Waxburner if you do not have enough leftover candles. The quality and ingredients of your leftover candles will determine the correct function of your Waxburner. You can find tips at www.kerzenkunde.de.
By loading the video, you accept YouTube's privacy policy.
Learn more
Moisture has soaked into the wick.
In strong wind or rain, air or moisture can penetrate into the wick and stop it from working properly. Heat up the Waxburner in the oven at a maximum temperature of 100°C until all of the wax has liquified. This will allow air and water to escape. Then, pour liquid wax onto the wick. The Waxburner is reactivated.
The ambient temperature is too low.
At temperatures of 0 °C (outdoor) / 5 °C (indoor) and lower, only wax bound in the wick will burn and the melting cycle will not be able to start. If you use our optionally available Winter Hood, the melting cycle will still be active down to around -20 °C (outdoor) / -5 °C (indoor).
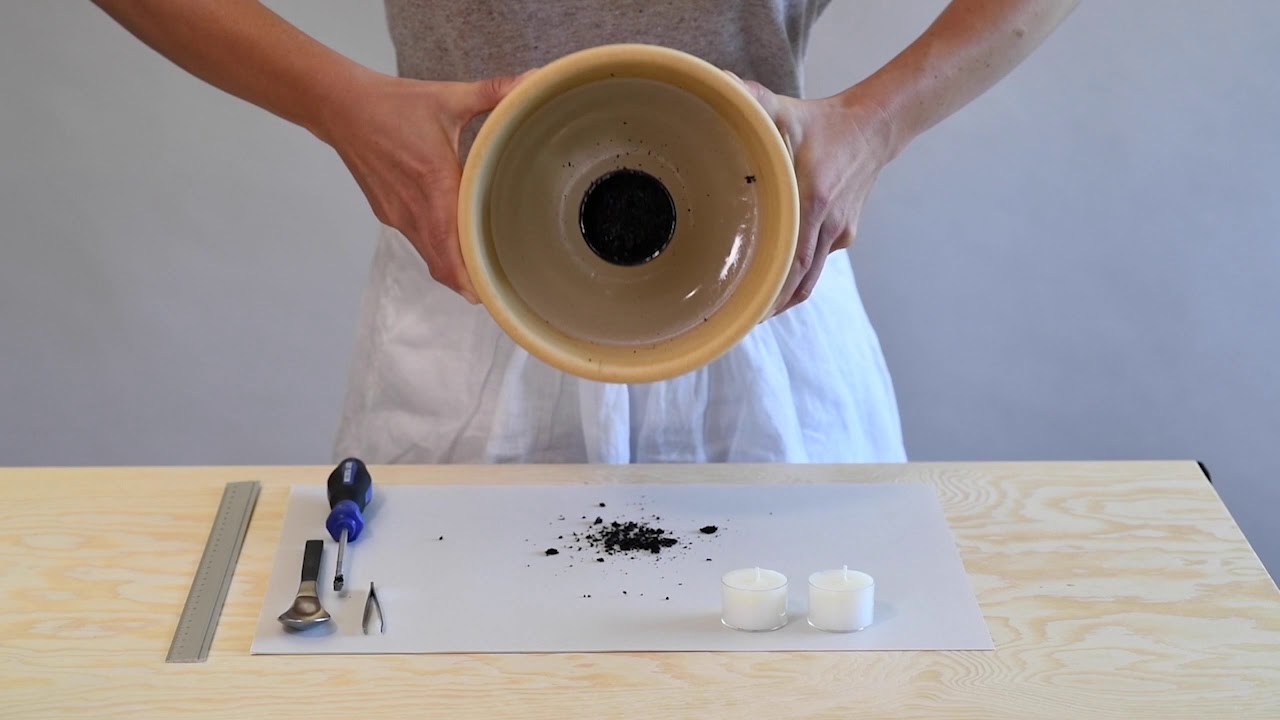
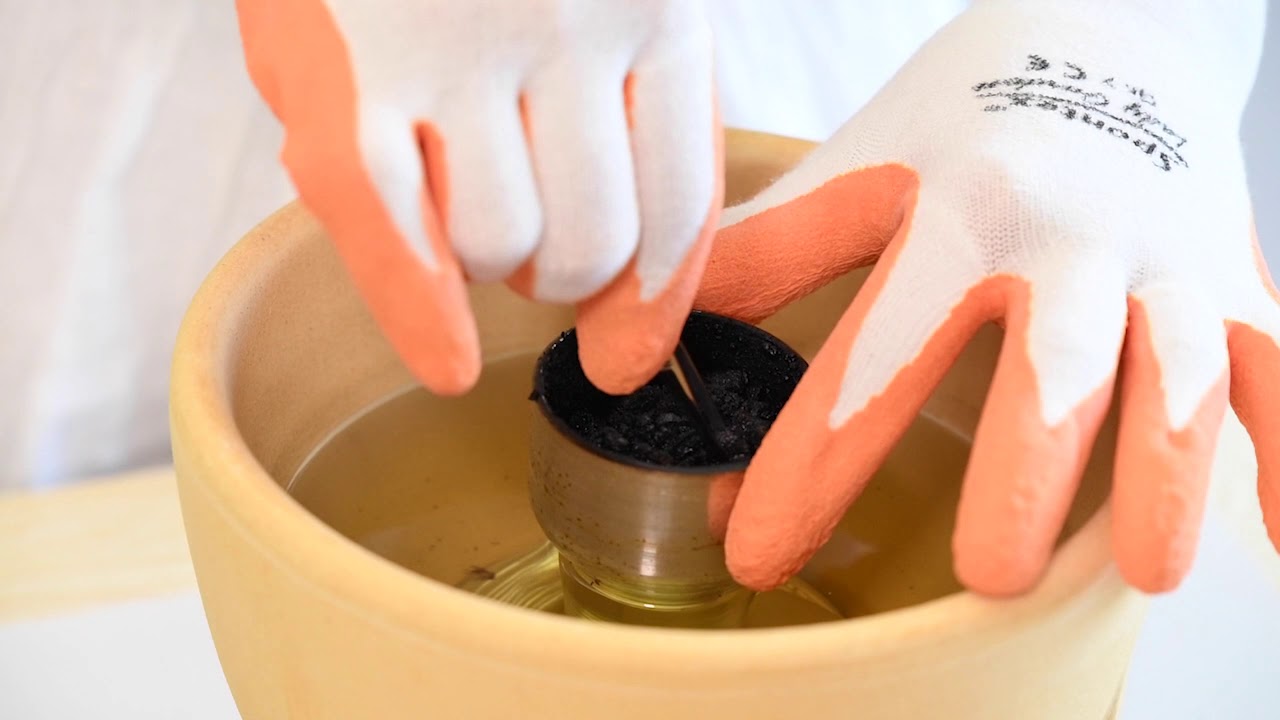
The wick needs to be replaced.
This is rare and only occurs if the maintenance work described above is unsuccessful. We can supply replacement wicks if required. Please follow the steps below: Heat up the Waxburner in the oven at a maximum temperature of 100 °C until the wax has liquified. You can now remove the aluminium burner from the bowl. Push the used wick out of the burner and insert a new wick. Insert the new wick into the aluminium burner so that it is close to its bottom edge. Then adjust the wick on the burning side as described under “Adjusting the wick”. Now put the burner back into the bowl and pour liquid wax over it (outdoor: approx. 10-12 tbsp / indoor: 4 tbsp) until it is fully covered. Your Waxburner is now ready for reuse.
By loading the video, you accept YouTube's privacy policy.
Learn more
By loading the video, you accept YouTube's privacy policy.
Learn more
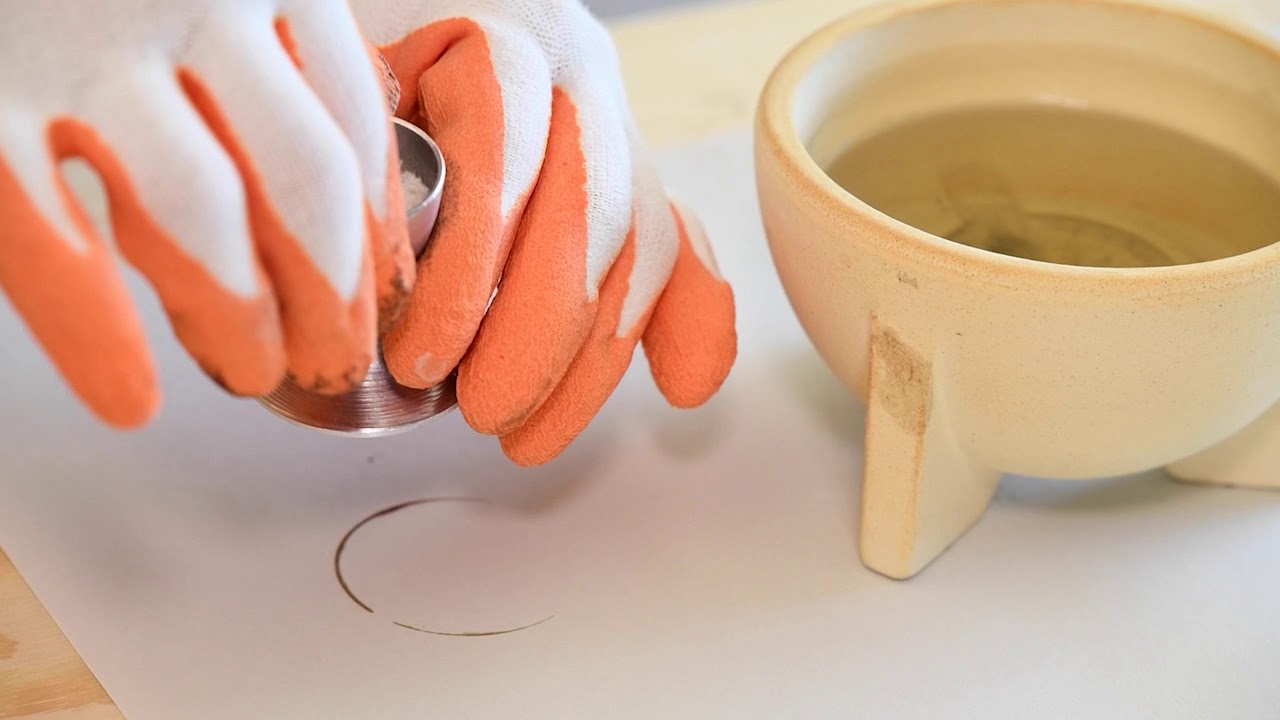
Cleaning the bowl.
The aluminium burner and wick, along with the set wax, are really easy to remove from the ceramic bowl when they are cold. You can then remove the soot from the empty bowl with cleansing milk and put it in the dishwasher. Then put the burner and the wax back in. The bowl is as good as new.
Instructions
You can find the instructions for all Waxburner models here.
Waxburner Indoor
Instruction (PDF)
Waxburner Outdoor
Instruction (PDF)
Waxburner Outdoor XL
Instruction (PDF)
Guide to candles
Instruction (PDF)
Personal contact
Just give us a call. We’ll be happy to help.
Denk customer service
Mon – Thur 9 a.m. – 12 p.m. and 1 p.m. – 4 p.m., Fri until 3 p.m.
+49 (0) 9563 – 51 33 20
We look forward to your call.
You can also email us at
kundenservice@denk-keramik.de